


I. The uses, measurement range and technical parameters of welding calipers are as shown in the table below

Instructions for Use
The product mainly consists of a main scale, a slider and a multi-purpose gauge. It is a weld detention gage used to detect the bevel angle of weldments, the height of various weld lines, weldment gaps and the plate thickness of weldments.
It is suitable for manufacturing boilers, bridges, chemical machinery, and ships and for inspecting the welding quality of pressure vessels.
This product is made of stainless steel, with reasonable structure and beautiful appearance, which is easy to use.
1. Instructions for Use
Measure the height of a flat weld: first align the undercut gauge and the depth gauge to zero and fix the screw; and then move the height gauge to touch the welding spot and see the indicating value of the height gauge for the height of the weld (Diagram 1).

Measure the height of a fillet weld: move the height gauge to touch the other side of the weldment and see the indicating line of the height gauge for the height of the fillet weld (Diagram 2).

Measure the fillet weld: the welding spot at 45 degrees is the thickness of the fillet weld. First close up the working face of the main body to the weldment; move the height gauge to touch the welding spot; and see the indicating value of the height gauge for the thickness of the fillet weld (Diagram 3).

Measure the undercut depth of the weld: first align the height gauge to zero and fix the screw; and use the undercut gauge to measure the undercut depth and see the indicating value of the undercut gauge for the undercut depth (Diagram 4).

Measure the groove angle of the weldment: coordinate the main ruler with the multi-purpose gauge in accordance with the required groove angle of the weldment. See the angle formed by the working face of the main ruler and the multi-purpose gauge. See the indicating value of the multi-purpose gauge for the groove angle (Diagram 5).

Measure width of the weld: close up the main measuring angle to one side of the weld firstly; then rotate the measure angle of the multi-purpose gauge to close up to the other side of the weld; and see the indicating value of the multi-purpose gauge for the width of the weld (Diagram 6).

Measure a fit-up gap: insert the multi-purpose gauge between two weldments; and see the indicating value of the gap gauge on the multi-purpose gauge for the gap value (Diagram 7).

1. Do not stack the welding inspection ruler together with other tools to avoid scratches caused by deformation, blurred lines and impaired accuracy. Maintenance
2. Do not scrub the calibration with amyl acetate.
3.Do not use the gap gauge on the multi-purpose gauge as a tool.
-
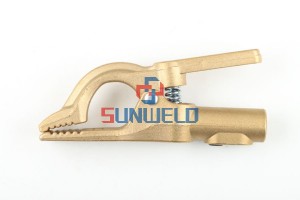
XL-GCF500 Flat Jaw Copper Ground Clamp 500A
View Detail -
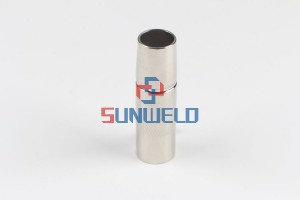
MIG Nozzleφ14*60.5 XL9580101 for MIG welding to...
View Detail -
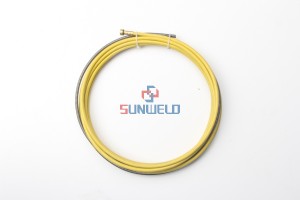
MIG Guide spiral liner insulated; 2.5/4.5; yell...
View Detail -
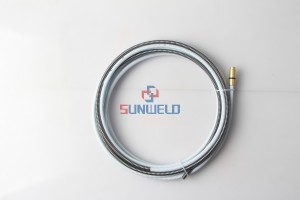
MIG Guide spiral liner insulated; 2.2/6.0; whit...
View Detail -
K5 Gouging Torch
View Detail -
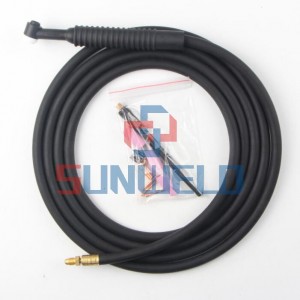
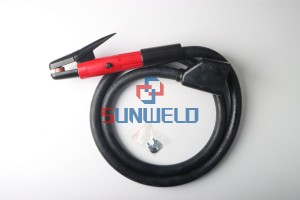
WP/SR-9 TORCH-USA (1 Piece Rubber Power Cable)
View Detail


